


It's going to be a chili Christmas
Spicing up the winter
Heyo,
Welcome to my first proper Substack newsletter that is not a random email to friends and family. It’s also a brave new world for me since I effectively have no internet presence.
If you’re new here, which is nearly everyone, then welcome to my attempt at sharing my journey from a short-order cook to master gourmand. My aim is to become a household name in my house.
You’ll get these once a week (Hopefully on Sundays or Mondays), so you can try out my experiments for yourself. Each email will have one detailed recipe with a smattering of other links from the interwebz that could be your future dinner that week (or not). Please try whatever suits your fancy and let me know what you think.
So today we’re going to make a condiment/crowd dazzler/overall winner at life, Mr. Lau’s chilli oil/crisp aka chili croil in my dictionary. Chili oil and chili crisp are totally different things, but honestly this recipe felt like it was right in the middle.
This is more than just a condiment. You’re going to dunk EVERY SINGLE THING at home into this jar of spicy goodness. Tarini sprinkles it on her fried egg and I can attest that is delicious and Instagram worthy (so I’ve been told by a former nano-influencer of some repute).
Also, this is dedicated to my sister-in-law, G-Money (name changed to rapper alter-ego to protect her identity) who eats chilies like it’s going out of fashion. We’re peas in a pod when it comes to spice🫛🌶️🌶️🌶️🌶️.
Unlike the previous two recipes, this isn’t one of those PREP PREP PREP kind of things. It’s go with the flow, but I still recommend you read the entire recipe before you start. (Note: Do not trust average chefs blindly)
I burnt it the first time (which is why you shouldn’t trust me), but frankly it was one of the best things I’ve ever made for myself. However, I admit that the first batch was met with a disappointment from my mother.
I am a paraphrasing her thoughts and feelings here, but it was something along the lines of “Why is my average chef son raiding my cabinet only to burn the food?”
She may have not said this, but I felt it.
Needless to say, I learnt my lesson and decided to do it the “proper” way this time, which is pouring the oil very very very very slowly (more on that later).
So let’s look at the ingredients.
The good stuff
200 grams Dried chili flakes (I bought something from Amazon, so there’s no hard and fast rule here on the kind of chili flakes)
70 grams ginger (We will julienne this stuff. I am only going to julienne the ginger because I wanted to write that I julienned the ginger.)
One large onion (The best thing on the planet, which I recently discovered are from Central Asia). Chop it up anyway you like, but try to keep them roughly the same size.
15 clove garlic (The second best thing on the planet. FYI repels vampires)
5 pieces star anise (Skipped this. I wasn’t interested in anising this recipe. Papa Lau says it’s optional anyway.) Refer to his recipe if you want to include it.
5 dash sesame seeds (to taste apparently, but I wasn’t interested in this either).
250 ML (WHOA WHOA WHOA) neutral oil (I bought a bottle of Gingelly oil, which is a south Indian cold-pressed sesame oil. I read that it helps preserve things, but it has a flavour which I love. Go with a neutral if you’re unsure.
The boring but essential stuff
two-three teaspoons of salt or as the pros say “to taste”
two-three teaspoons of sugar to kill the killer heat.
two-three teaspoons of white pepper (Hard no me because I am not trying to kill myself with more spice).
Five table spoons paprika (for that nuclear red color, which will make it insta colour bright, but this is totally optional)
Five table spoons neutral oil (Gingelly for me and myself)
Step 1: Prep da mix
First, we'll create the chili mix. In a heat-safe bowl, mix together the chili flakes, salt and sugar. I skipped the pepper and paprika because reasons.
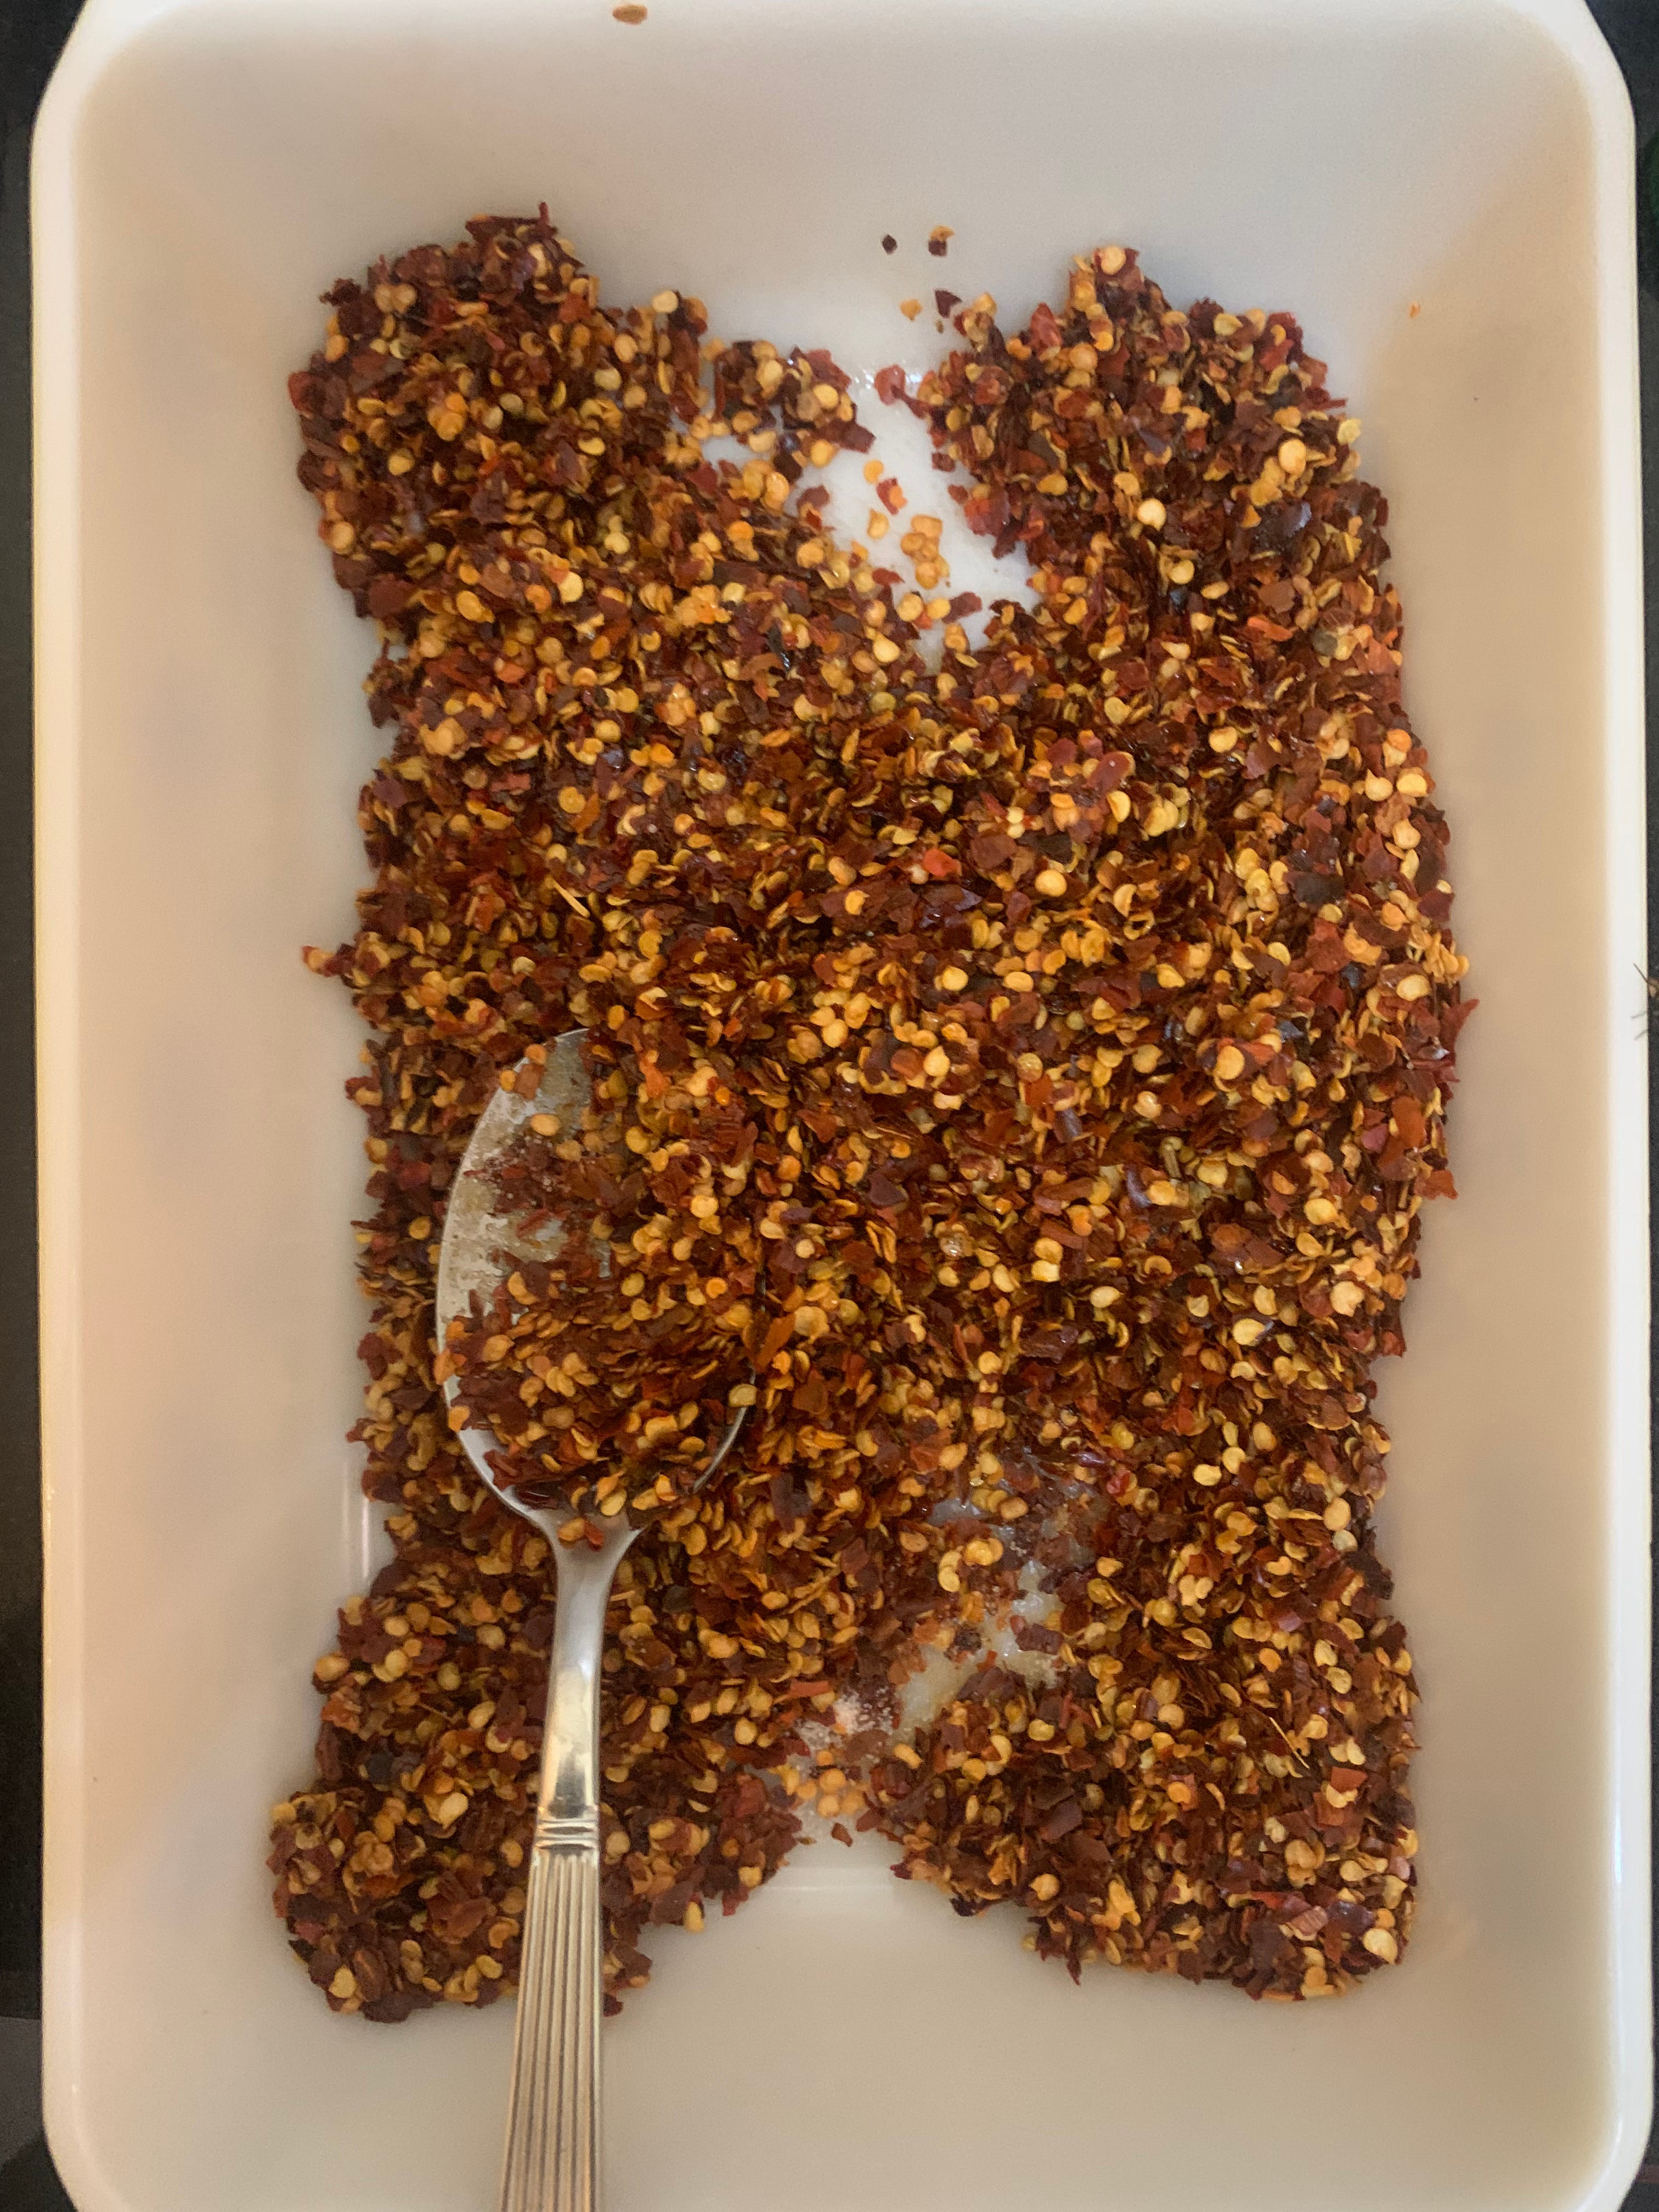
To the dry mix, add a few table spoons of oil, just to give it a light coating. The recipe says it will prevent the ingredients from burning as we do our dramatic pour. This seems to be true based on the burning experience.
Step 2: Prep da aromatics
Keep the onions, garlic and ginger aside after you’ve chopped them up. I wasn’t too fussed about the size despite the julienne (which I don’t want to show you because it wasn’t that pretty). Also, we’re going to discard these, so it isn’t going to matter.

Recipe: How much garlic do you want?
Me: Yes.
Step 3: Fry ‘em
Heat up your wok or in my case a cheenachutti, which is a Kerala style iron wok which literally means Chinese (cheena) wok. Yes, it’s a creative name.
Dump the oil in. It will feel like way too much, but it’s fine. We need it. I used an industrial amount, but I’ve decided to make extra for paying subscribers (Yes, I have a few already, so reach out for more info).
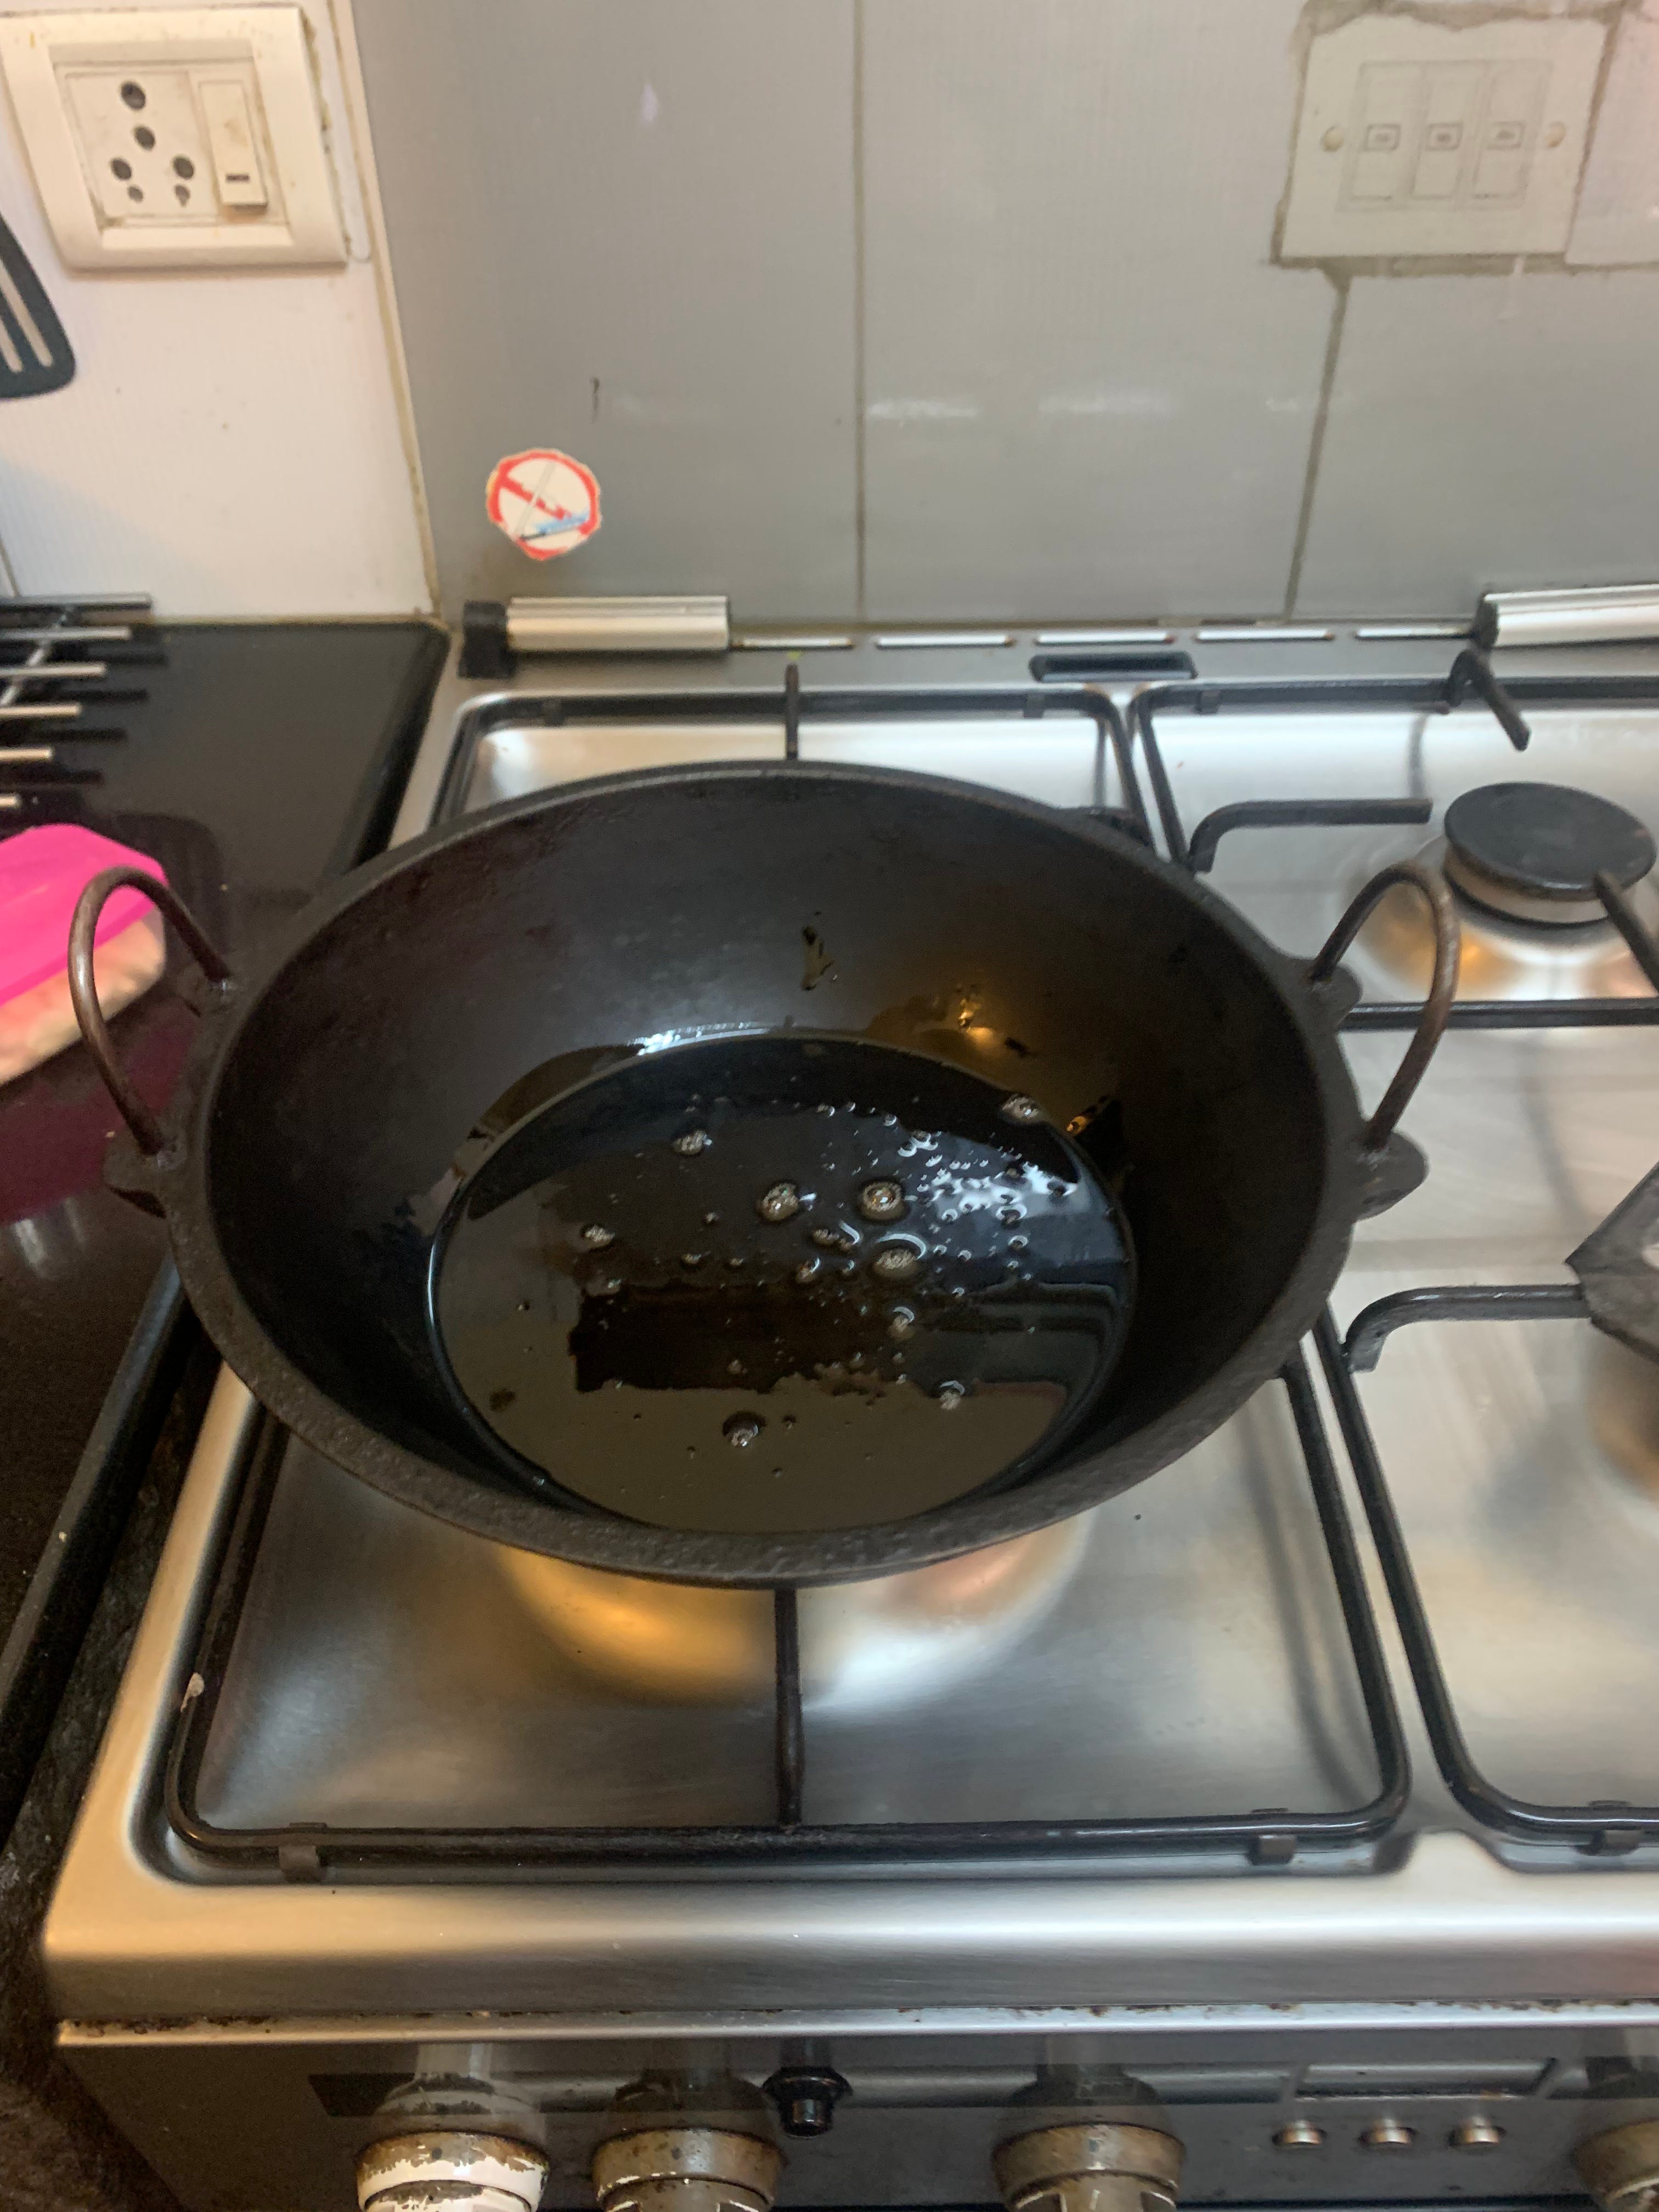
Throw a teeny tiny piece of onion and if it starts bubbling, then it’s time to add your ginger, garlic and onions. Reduce the heat because it will get smokey and I know from past experience the flavours infuse better at a lower temperature.
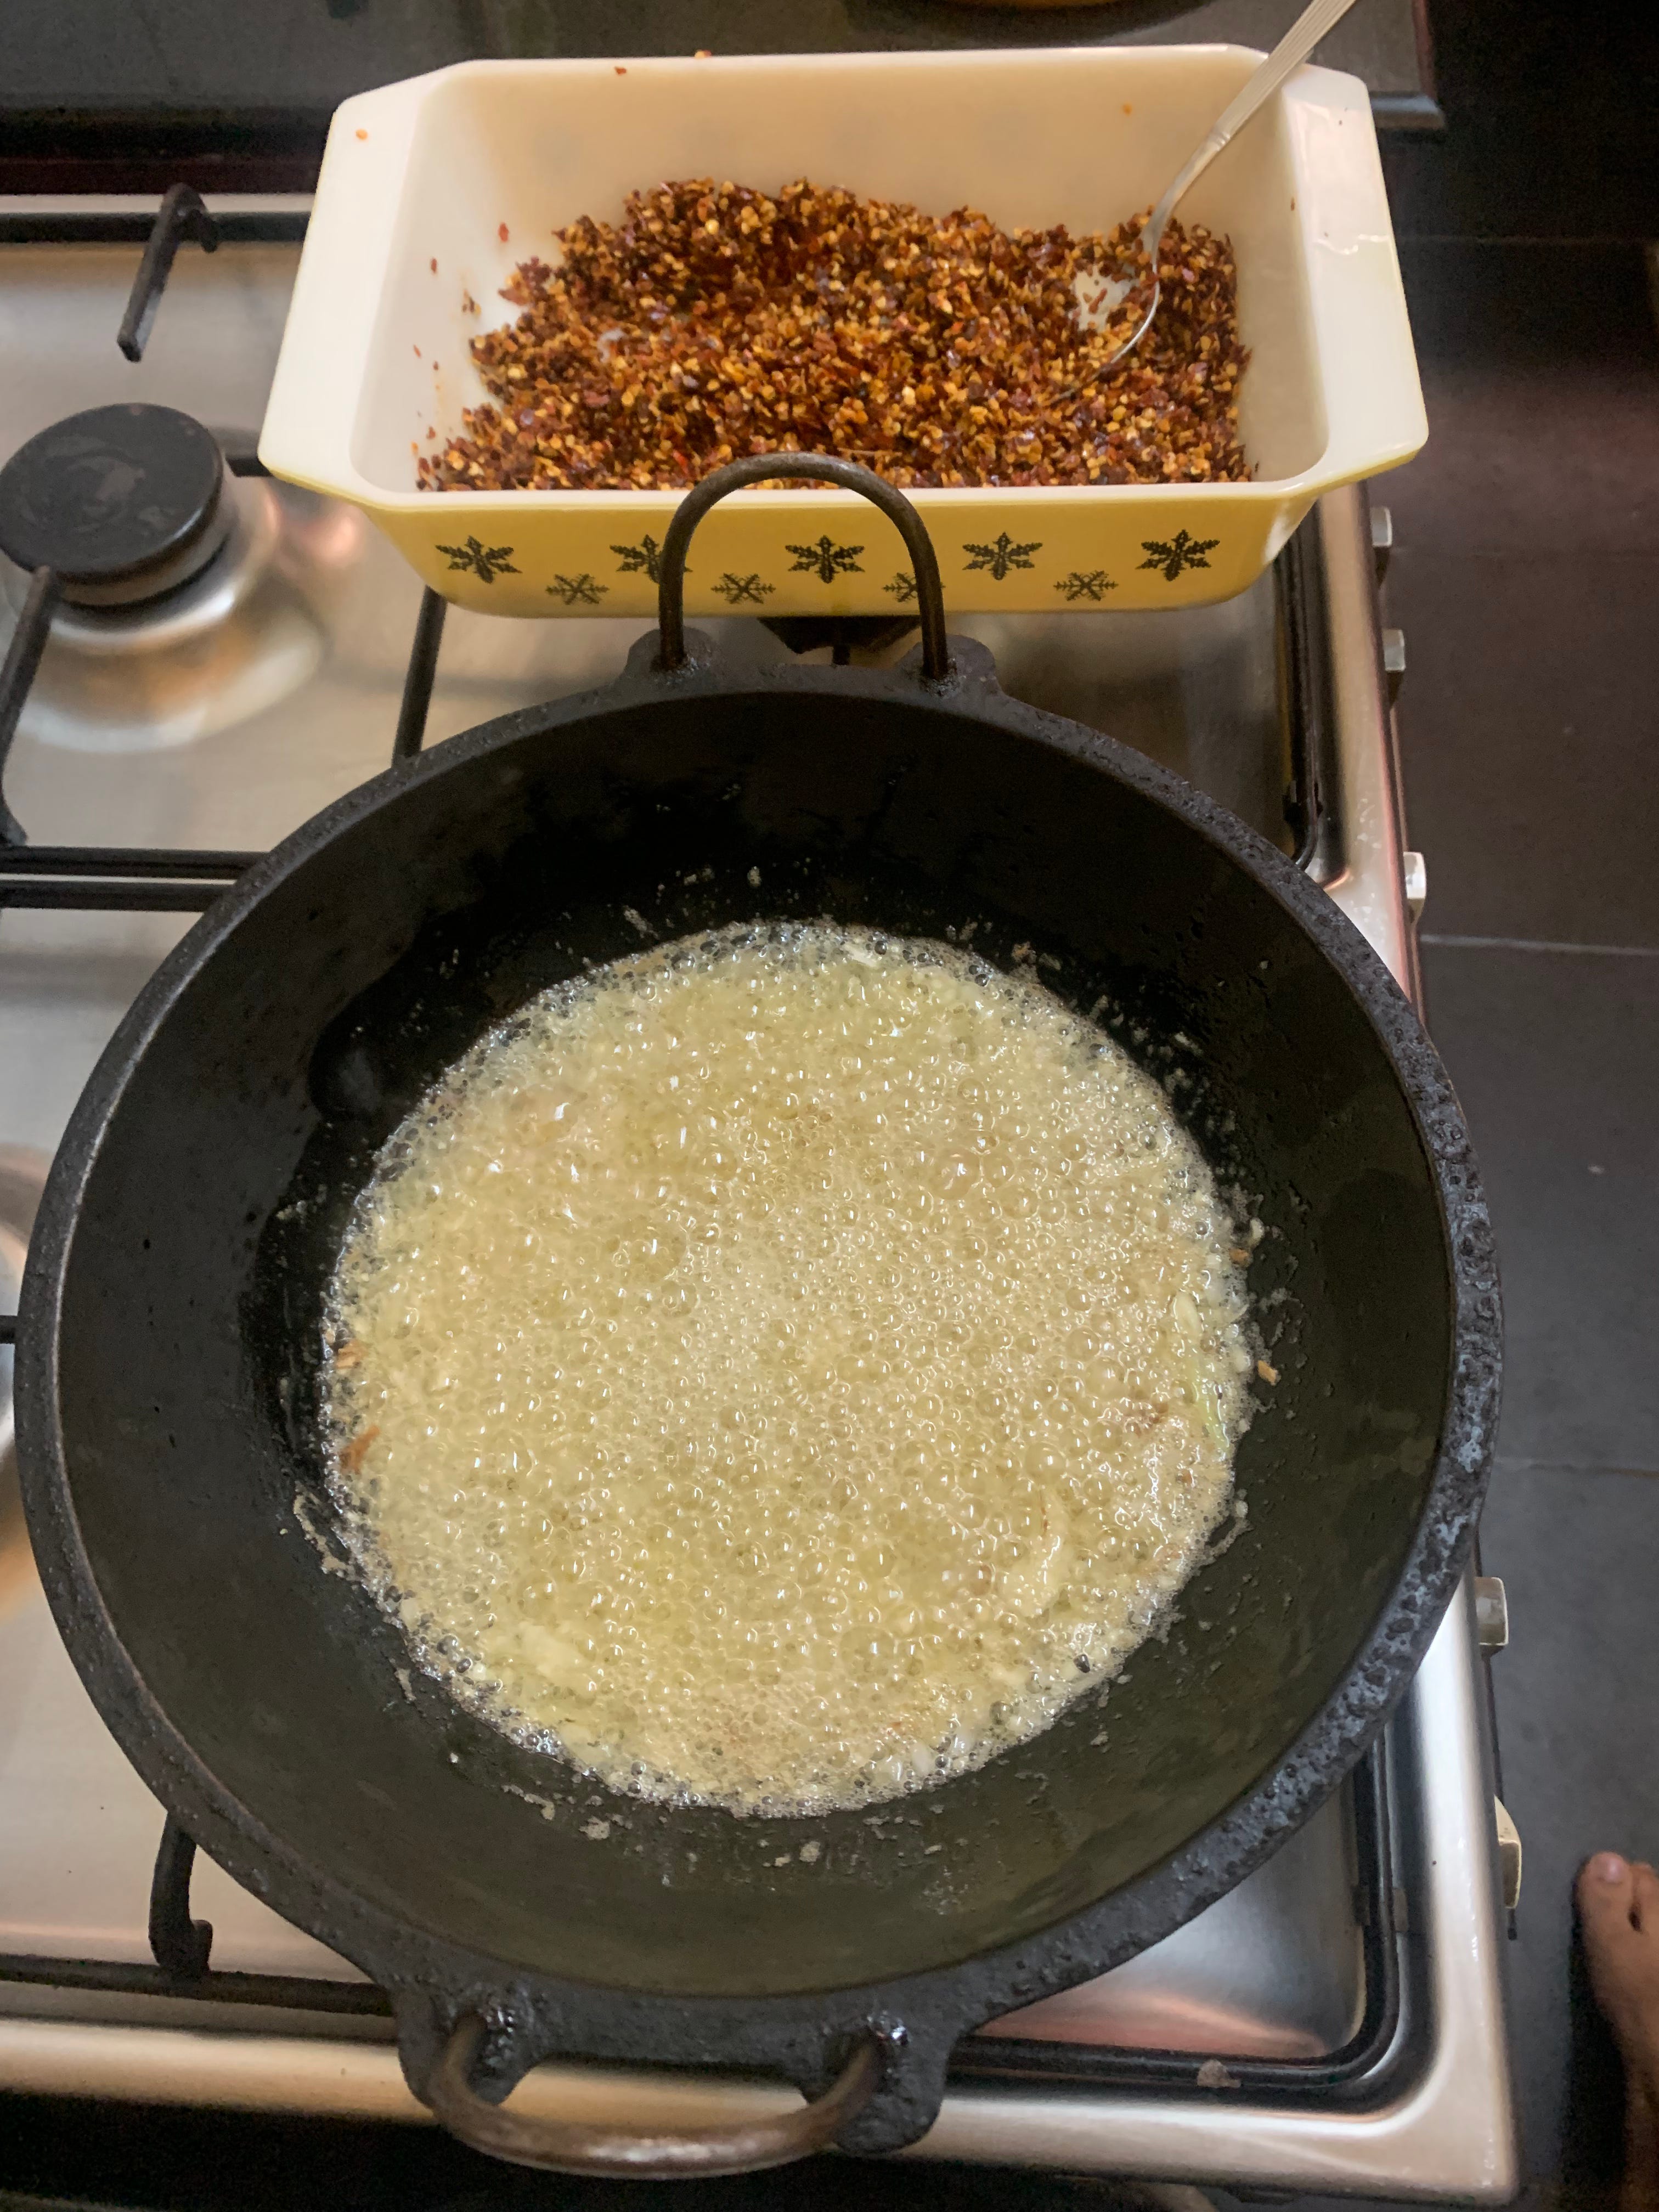
I know this bubbling looks like we’re in an American diner having deep fried freedom, but fret not. Let it keep going till the aromatics are brown, but not burnt. Then just kill the heat.
Strain the oil or scoop out the onions, garlic and ginger. I was terrible at this and I had to do a combination of things to separate them from the oil. Do better than me (Mr. Lau has a system and makes it look toooooo easy).
Straining is important because the onions have water in them and it will spoil the croil if you’re planning to store it.
Once you’ve separated the oil, bring it back up to temperature in the cheenachutti, But make sure it’s not crazy hot (Yes, I know I am specific with my temperature read-outs).
Step 4: Pour da oil over da mix (VERY SLOWLY)
When it’s back up to temp (Hot hot hot), either kill the heat or put it on the lowest flame possible. Then slowly laddle the oil over your chili mix. It will sizzle and the sound is fantastic, but do not be tempted to pour all at once.
Be gentle and pretend to withhold the oil from your hungry chili mix which is ready to bathe in your infusion. You just don’t want to burn it and guess who didn’t burn it this time…
That’s right. Me, the executive chef of this house who cooks occasionally.
Stir in the oil after every pour. Now just rinse and repeat till the mix and oil are besties. Get it to point where the oil mixture feels viscous and looks like a chili flake lava.
Let it cool.
While you’re waiting, pop in some bread into the toaster and slather some of this stuff 🤤. I had to lie down. It was blissful spicy goodness and not too hot for my mouth.
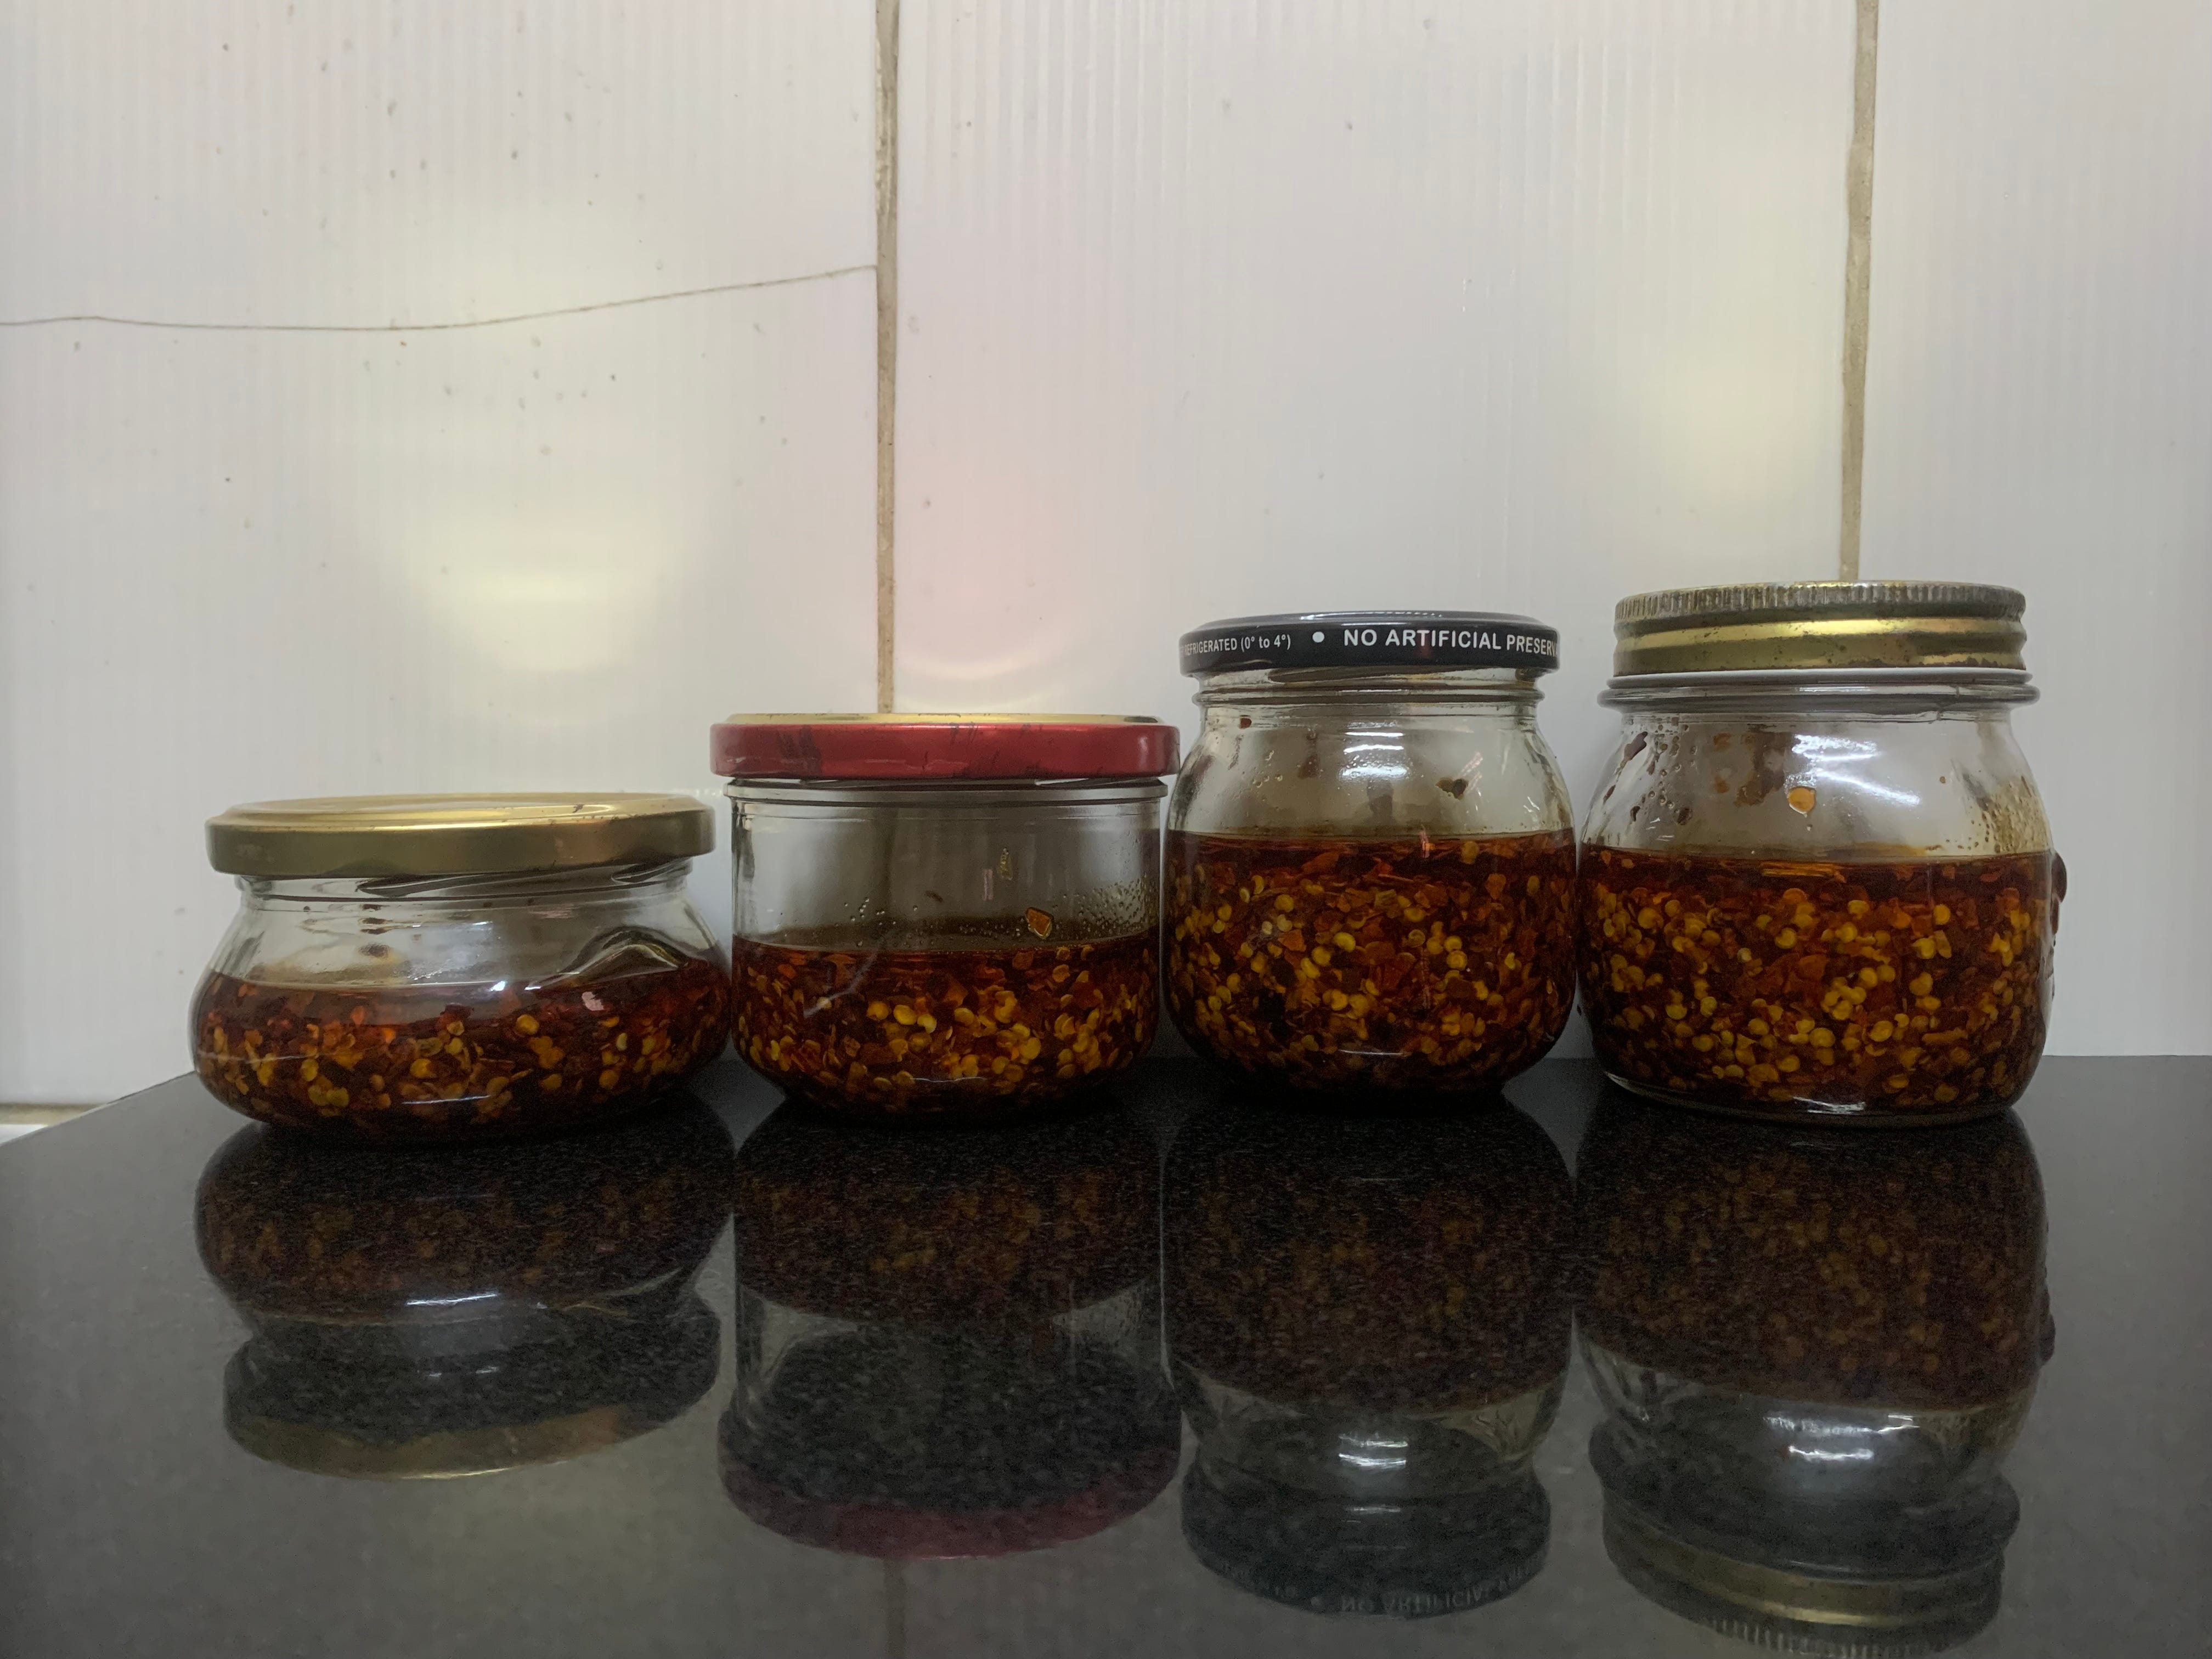
Keep waiting for it to cool. If it feels like a long time, then it’s not long enough. After it comes down to room temperature foist the unsuspecting croil into a bottle.
Store it, eat it or lick the bottle clean. Do what you want. Don’t consume too much in one go unless you can handle some pyrotechnics later in the day. If you’re storing, please keep it in the fridge. It should last a few months according to the recipe (I’ll keep you posted). And that’s pretty much it.
I trust this recipe blindly because Mr. Lau is a James Beard Award winner plus he’s made this recipe for 50 years and I am sucker for a good YouTube cooking video.
This uncomplicated cooking experience was a reminder to me that some of the best sauces, condiments and catch-alls are made at home. I will do more of ‘em. Maybe borrow a few recipes from y’all (mainly the mothers reading this).
So what should we do with our chili lava?
If you’re G-Money, you just have a spoonful after a stressful day. Lie down afterwards.
Put it on top of McDonald’s style vanilla softie🍦. Or just use store bought ice cream. Oooof, it’s just ice and spice. What a deadly combo.
Golden Chili Oil Fried Rice - Best when you have left over rice in the fridge. This is a quick and dirty recipe that you can top with a nice gooey fried egg.
Chili Crisp Grilled Cheese - If you grew up with chili cheese toast, consider this the adult version. It’s decadent, but 🤌.
Honestly, there is no end to what you could do with this basic chili croil. Dipping sauce for momos, a spoon to add to your salad dressing, “touchings” for your chakli or maybe just the base sauce for your spaghetti aglio e olio.
And that’s it for me this week, your average home chef raiding his mother’s pantry is signing off.